Up to 30% Off Sitewide
|
72-hour delivery available for select pincodes in Delhi NCR, Bangalore & Mumbai
0
Trending Searches
Memory Foam Mattress ⚡
Memory Foam Pillow ⚡
Bedding Set ⚡
King Size Mattress ⚡
Queen Size Mattress ⚡
Soft Pillow ⚡
Fitted Bedsheet ⚡
Dog Bed ⚡
6 Inch Mattress ⚡
Trending Searches
Memory Foam Mattress ⚡
Memory Foam Pillow ⚡
Bedding Set ⚡
King Size Mattress ⚡
Queen Size Mattress ⚡
Soft Pillow ⚡
Fitted Bedsheet ⚡
Dog Bed ⚡
6 Inch Mattress ⚡
Stores & Experiences
Explore our Stores
0
Stores & Experiences
Explore our Stores
Mattress
Pillows
Bedding
BestSellers
Bundles
New Launches
Dog Beds
Bed
Help me Choose
More
Home
>
Assembly Instructions
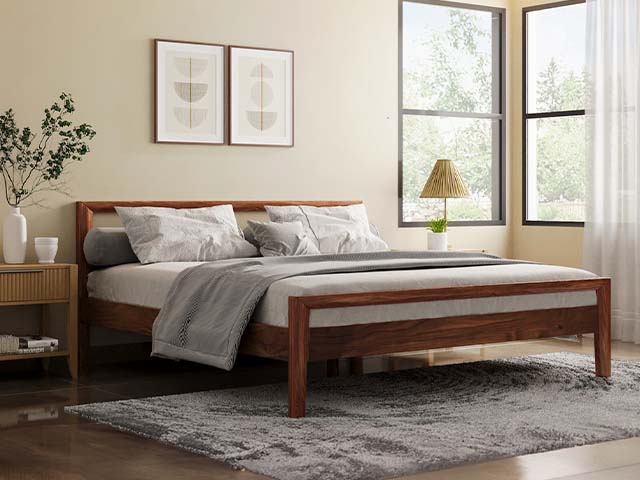
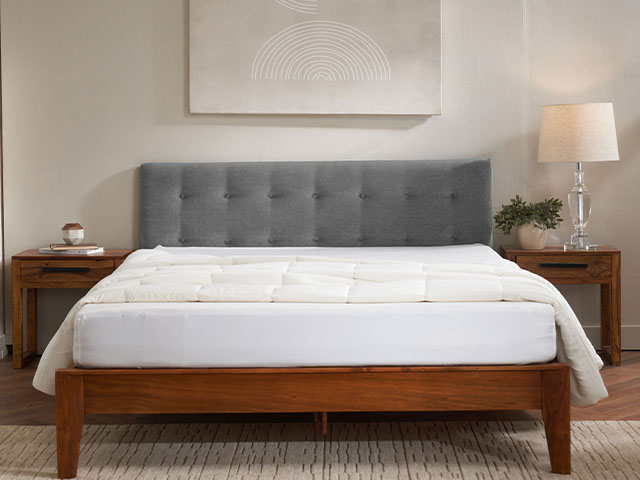
Select your bed
Ohayo Bed
Get assembly Instructions
Katachi bed
Get assembly Instructions
Taurus Smart Recliner Bed
Get assembly Instructions
Choose Offer!
×