₹0
₹0
0% EMI Across Top Banks
100 Nights Trial on Mattresses

Experience intelligent sleep with customisable positions,one-touch presets, and premium comfort features in this advanced electric bed.
Make sure to follow every step mentioned in this manual and don’t forget to recheck those nuts and screws.
Let’s start building your bed…
All electronics and components that need to be installed are placed in boxes under the foundation or attached to the frame.Before discarding the packing materials, ensure that all the parts are accounted for.

A. L - Spanner - Qt. 1

A. Spanner - Qt. 1
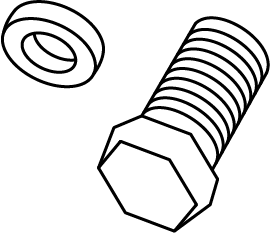
A. Hexagonal Bolt - Qt. 28
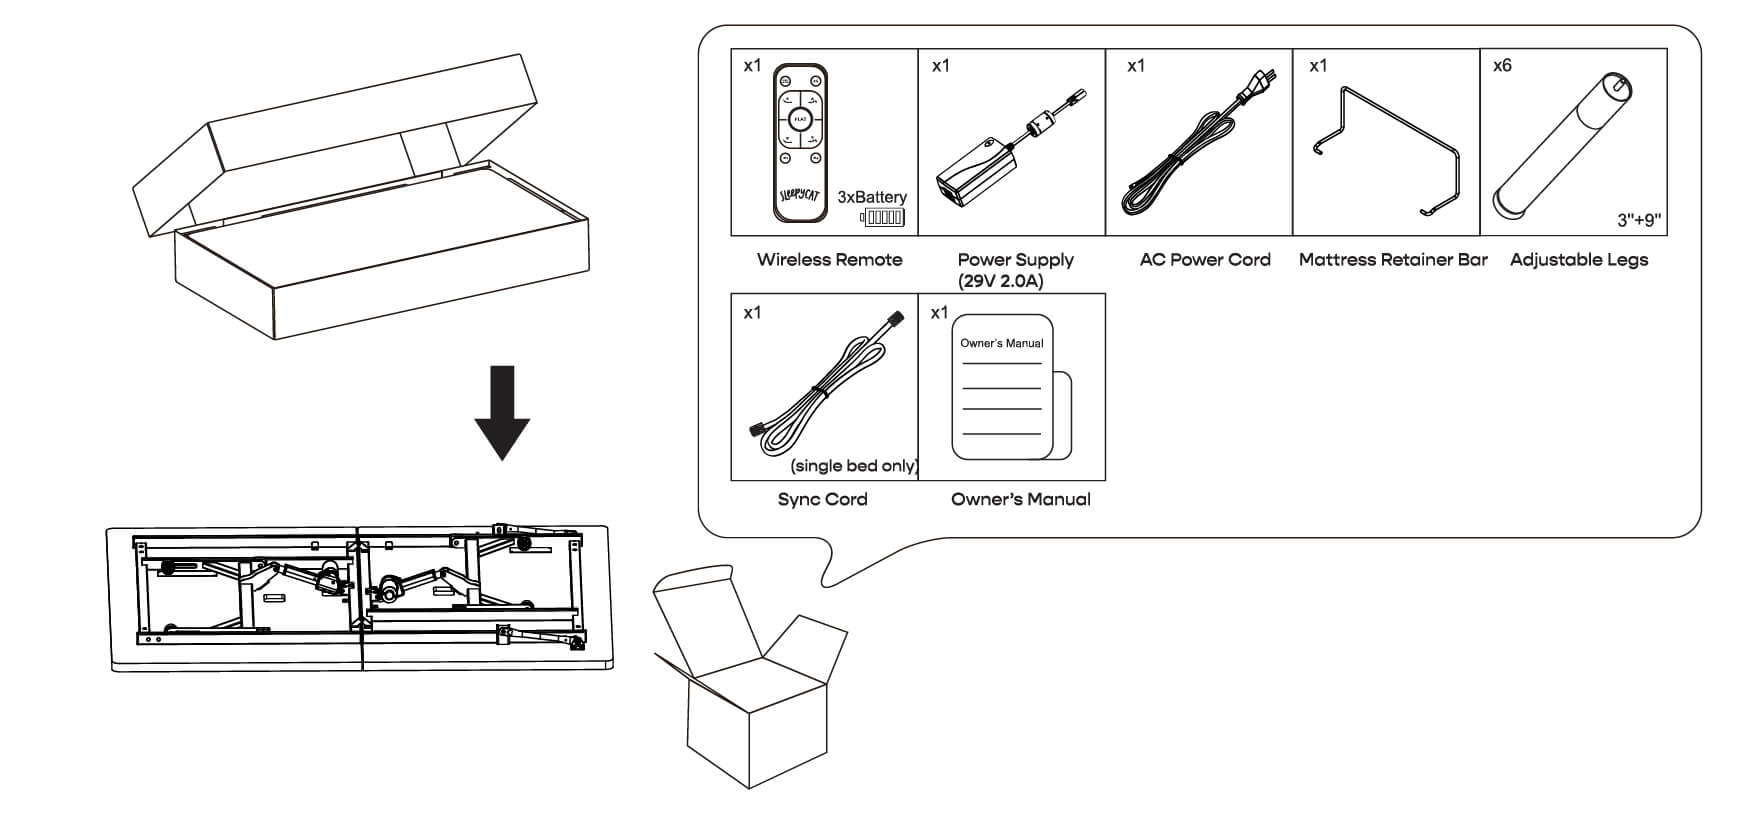
Open the box, take out all the packing components.
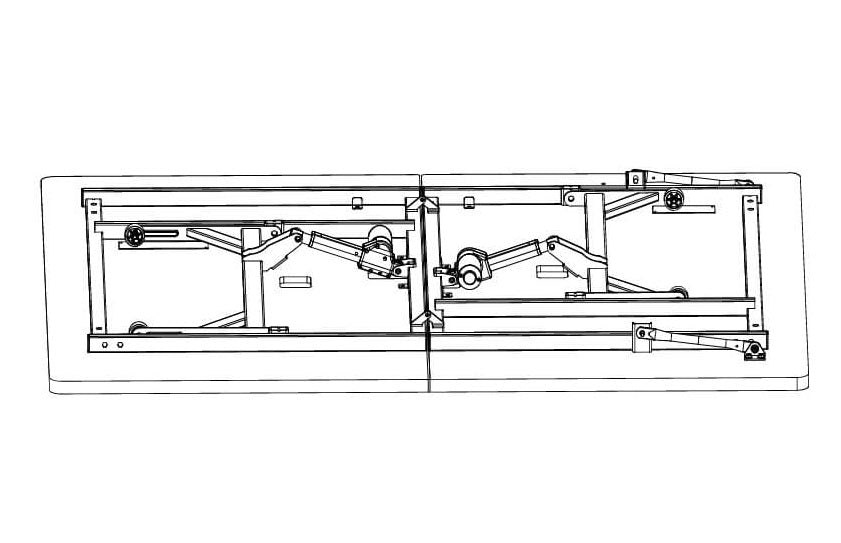
Remove the foundation from the box. Make sure the floor is clean. Flat the foundation.
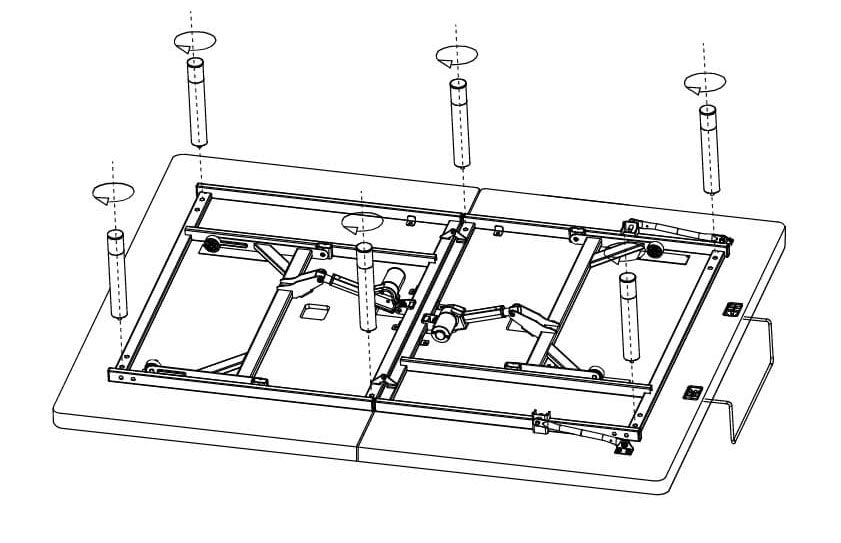
Install legs and tighten by hand.
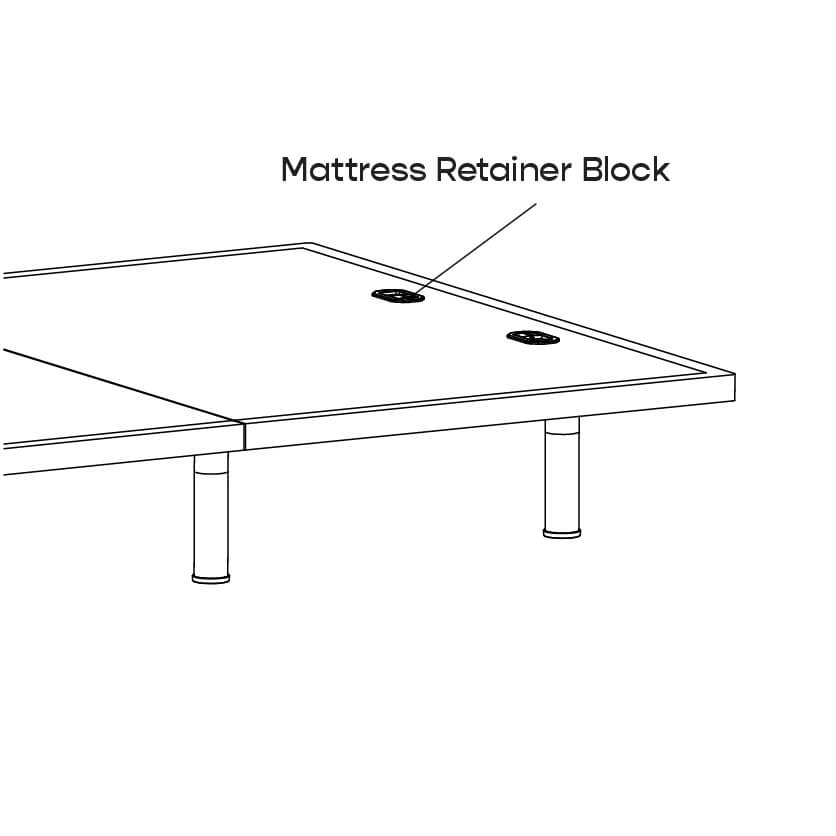
Carefully rotate the foundation over so it is resting on its legs.
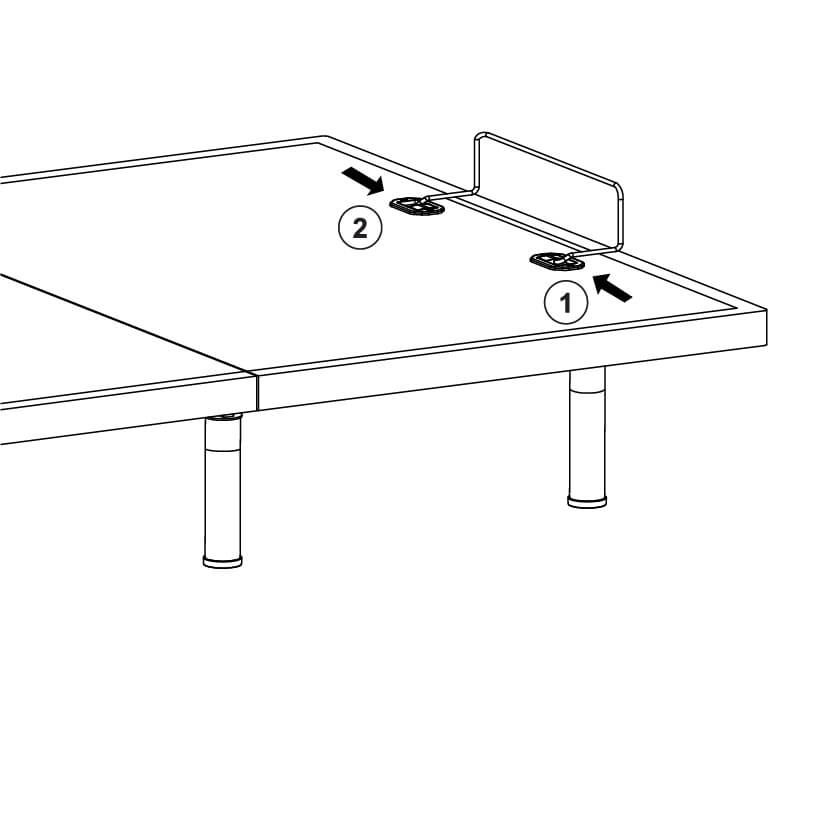
Slide the left side of the mattress retainer bar into the block. Pull the retainer bar to the opposite bracket and secure the right side.
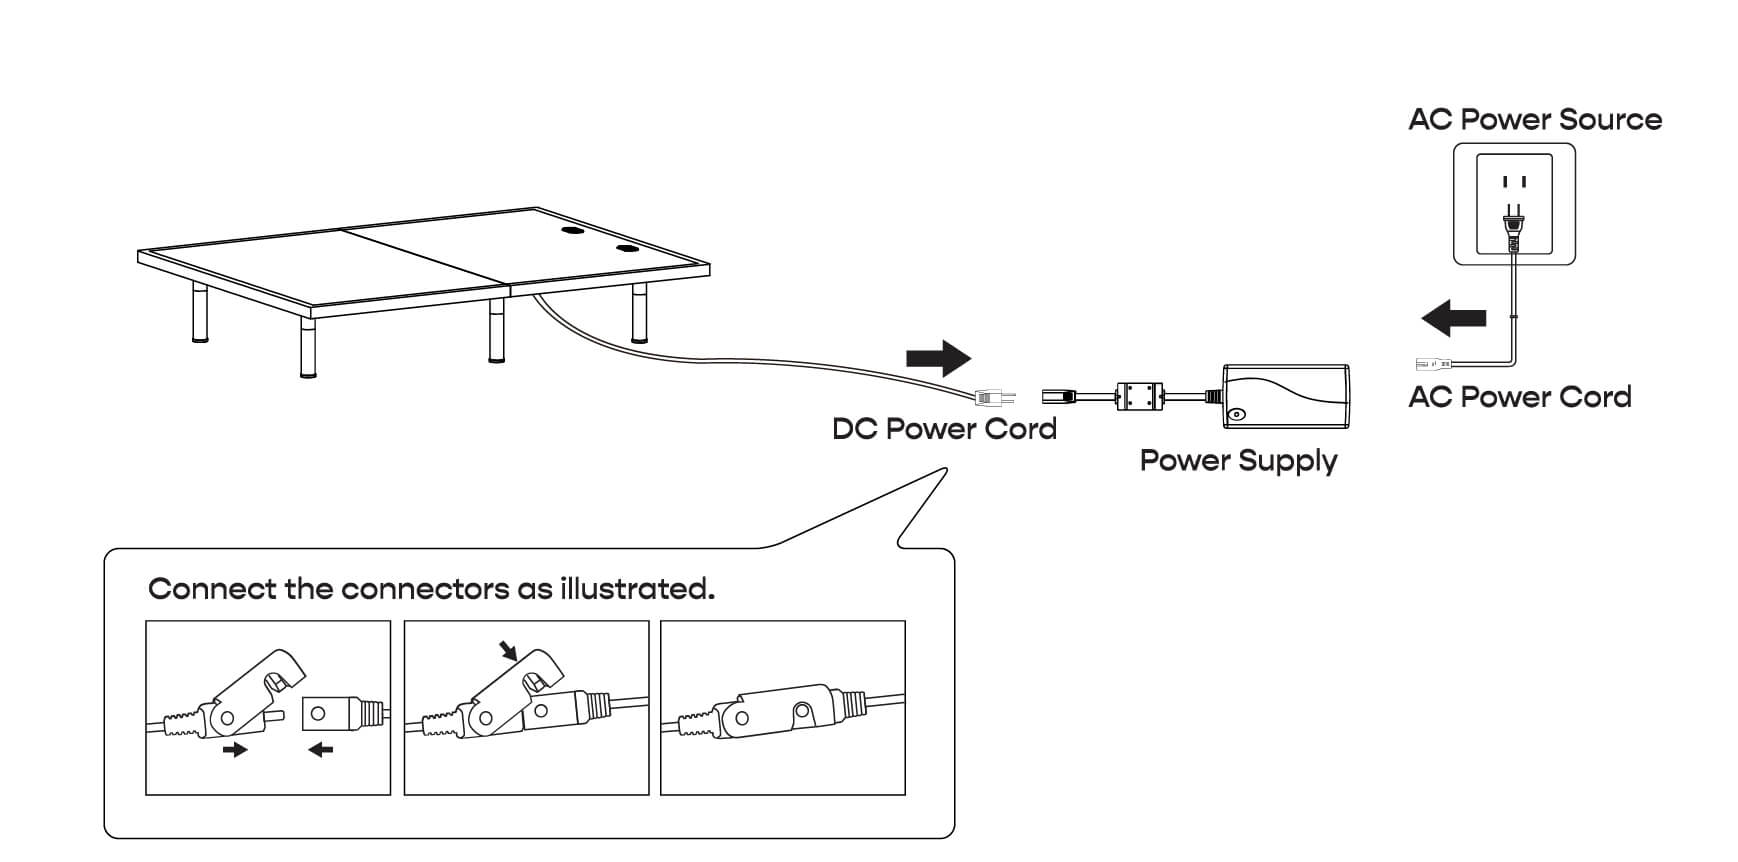
Connect the DC power cord to the power supply, uncoil the AC power cord and then connect it to the AC power source .
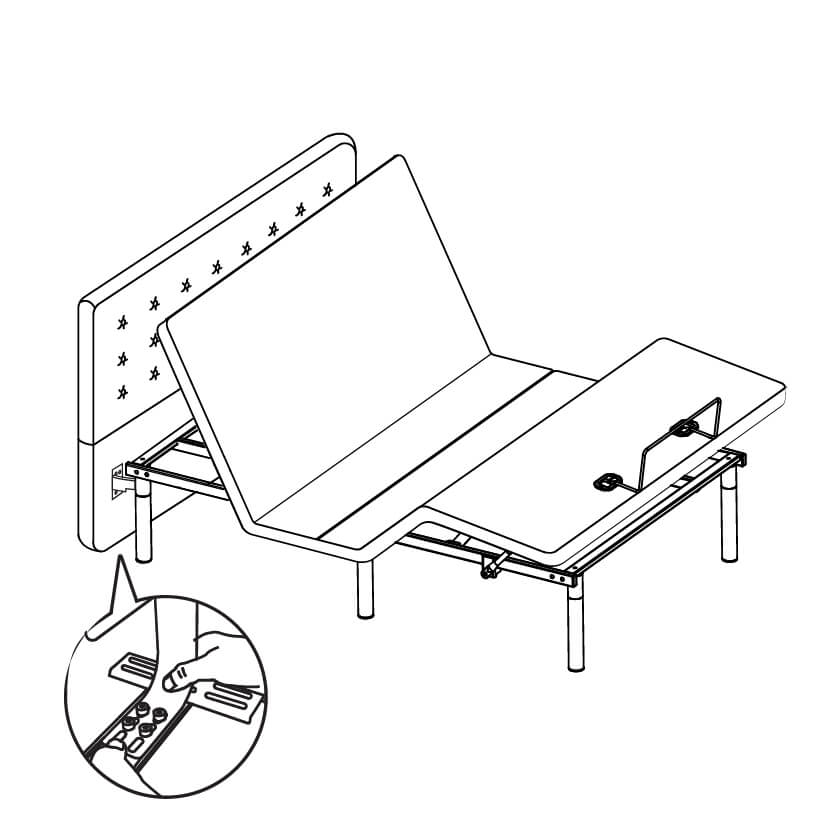
Install the headboard. **To assemble the Taurus Bed without the headboard, skip this step
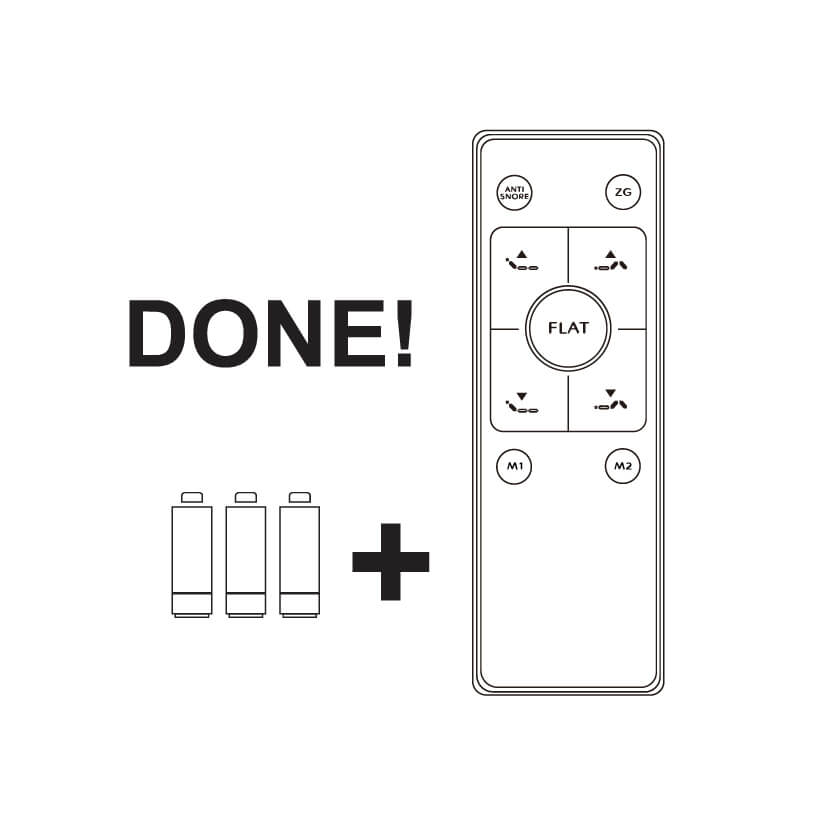
Insert batteries into the wireless remote.
Mon to Sat: 10am - 7pm | Sun: 10am - 5pm
Email: info@sleepycat.in
Securely Pay using
Also available on
Trusted website
2025 All Rights Reserved. Sleep Management Pvt Ltd. (CIN - U74999WB2017PTC220324)
Registered office: 103/24/1 Foreshore Road, Shibpur, Howrah WB 711102.
For any queries or grievances, contact: Divya chauhan (divya@sleepycat.in +91-97486 52247)
Extra ₹500 off
Get ₹500 off when you add any pillow or bedding accessory to your mattress order!
10% Off
On orders ₹10000 & above